How To Create An Office Document From A Linux Shell

tux and office logo
5
(1)

Of course there are always more than one way of doing things and this is especially the case with Linux but in this post I will take you through the steps needed on using a Linux terminal or a shell script to create a formatted office document in ODT, PDF and DOC format.


These three file types are the only types that I have tried and tested and of course there will be other possible types to convert to but I will only go over these here and I will leave the rest up to you to discover.


People always debate about why Linux is better than Windows or vice versa but here I will take you through just one example of why Linux has so much more power and is capable of doing tasks that is just not possible (that I know of) with a Windows box.


During one of my previous projects I came across a problem where by I needed this solution and so after some extensive research and countless hours of trial and error I will explain here just how I overcome this hurdle.


Ever since I discovered how to use the Linux shell to create office documents I have been looking for ways to implement this new found tool in my tool box to create automated office documents in other projects.

This is the procedure we will be going through:

  1. Create an office document with place holder strings
  2. Uncompress the file
  3. Find and replace our string placeholders in the content.xml file
  4. Zip the package back up
  5. Convert to another file format (optional)

These are the steps I will be taking you through:

  • Creating our template document
  • Installing the needed tools
  • The ODT file format and why this is key
  • File manipulation & creation
  • Converting ODT file to PDF and DOC

1. Create/Aquire Our Office File Template

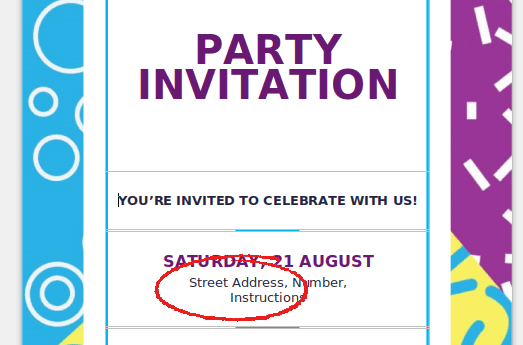
Before we can do anything, first we need to create our office document, but in this example I’m going to download a template file from office.com. 


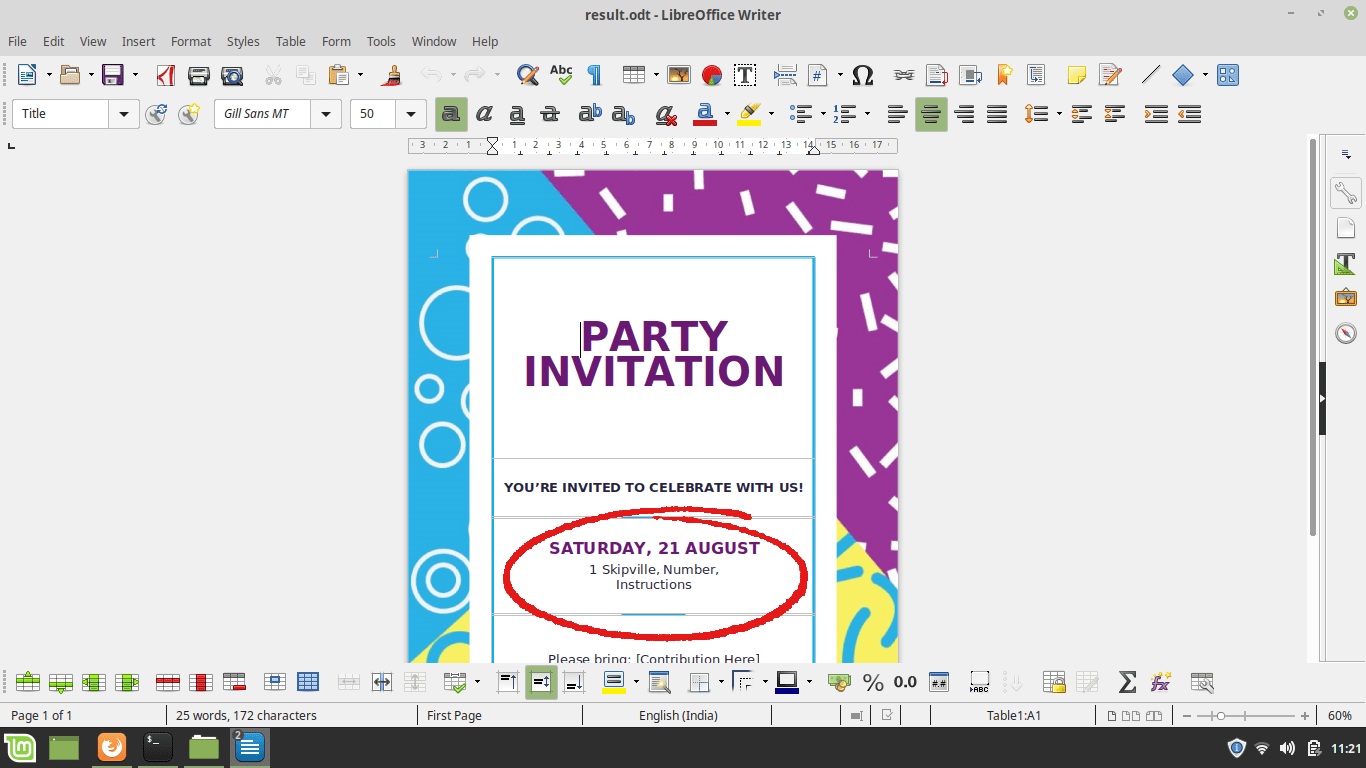
Once we have our document file we will be opening it up using Libre Office Writer and what we need to do is replace all of our text with place holder values.


So for example if we have a name and address at the top then we can replace our name with MyName, the first line of our address to AddressLine1 and so on.


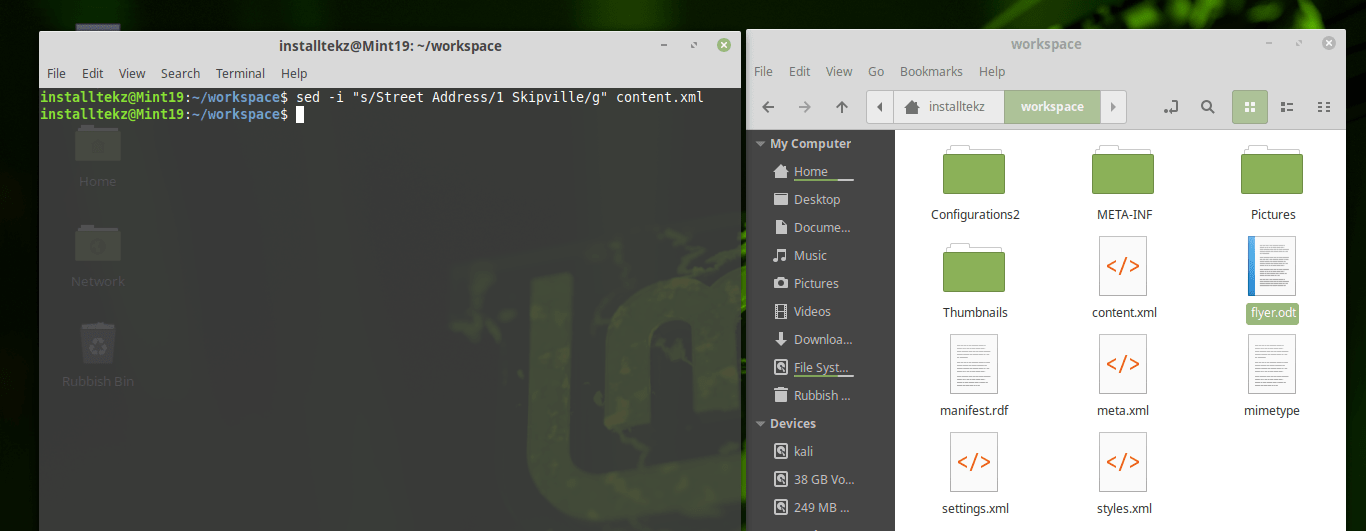
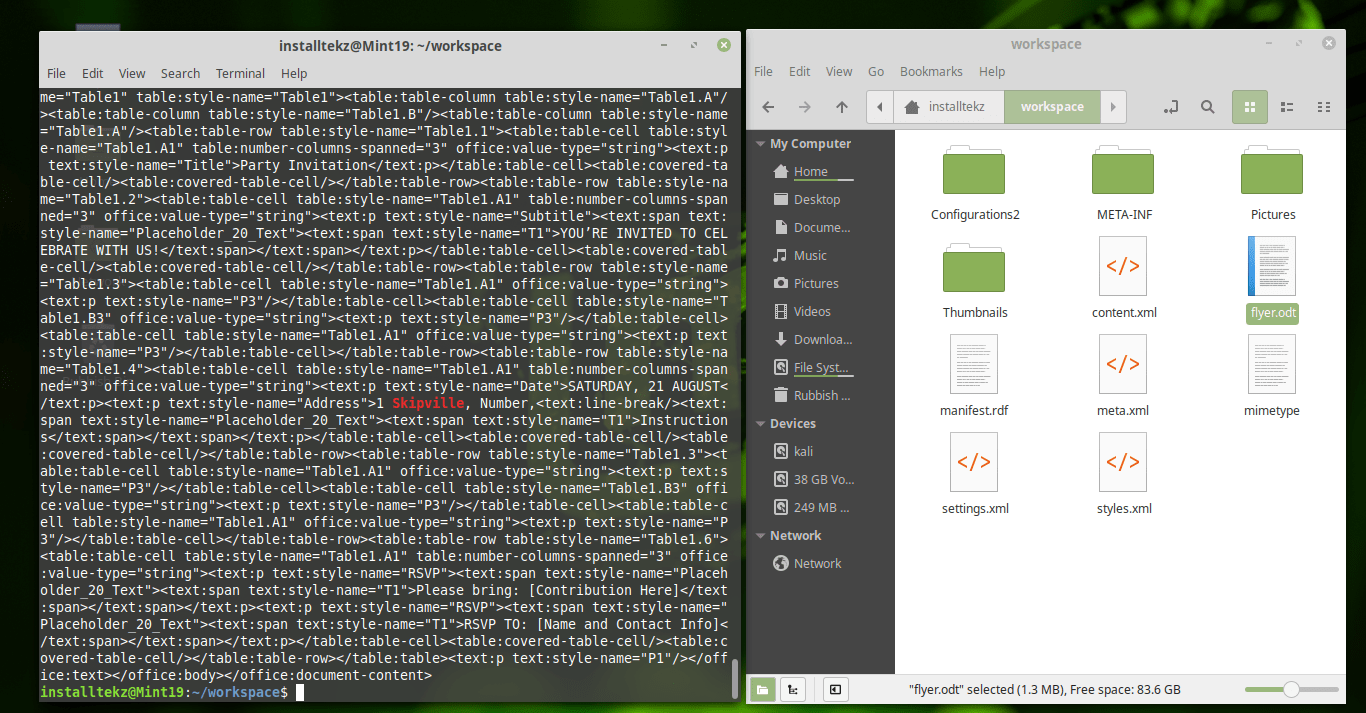
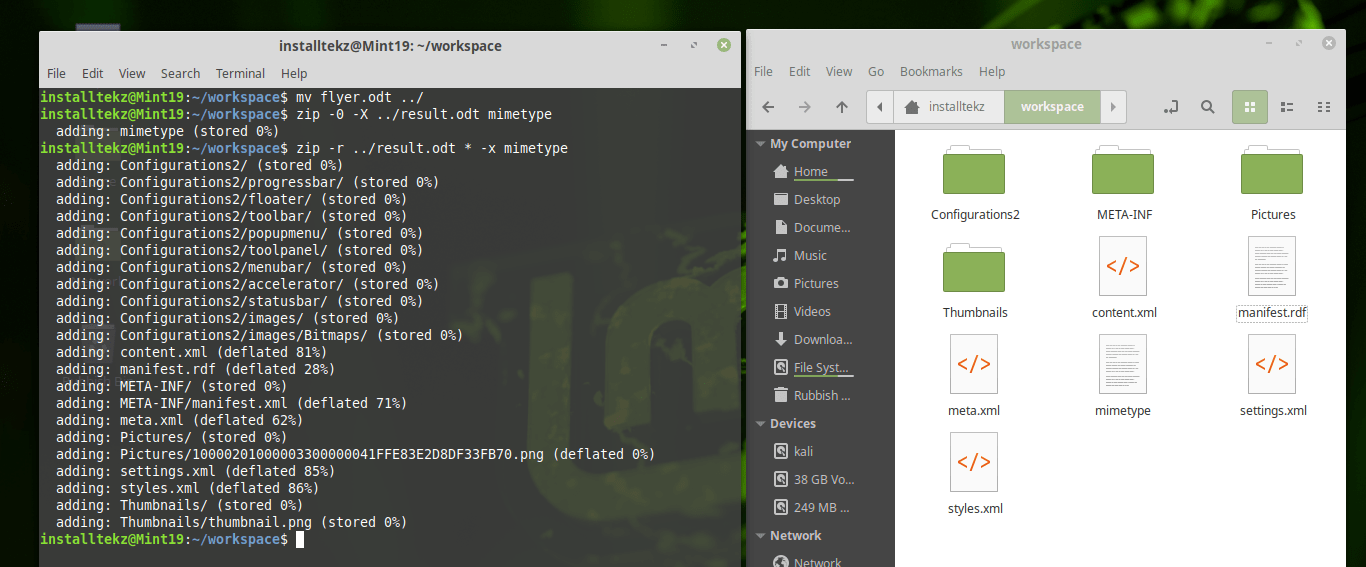
What we will be doing is going through the steps needed to create a shell script that will be replacing these values with the final string values that we want in our document. 


If you’re unfamiliar with a string, this is simple a line of text such as “The cat sat on the mat” for example.


In this example I downloaded a party flyer template file from the following address:

templates.office.com


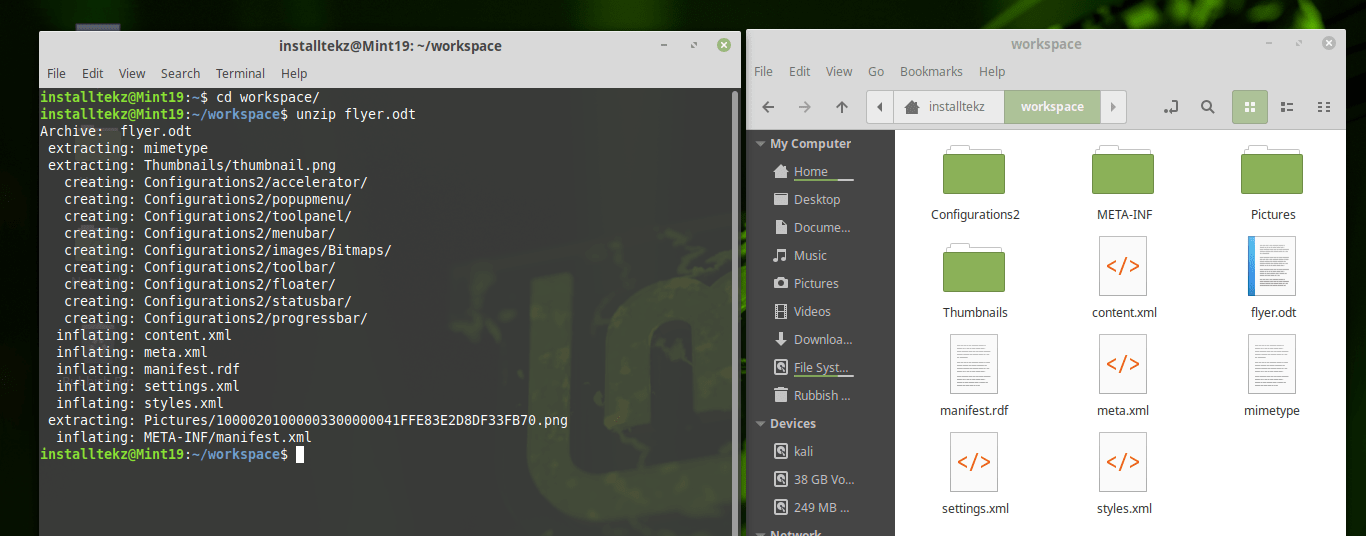
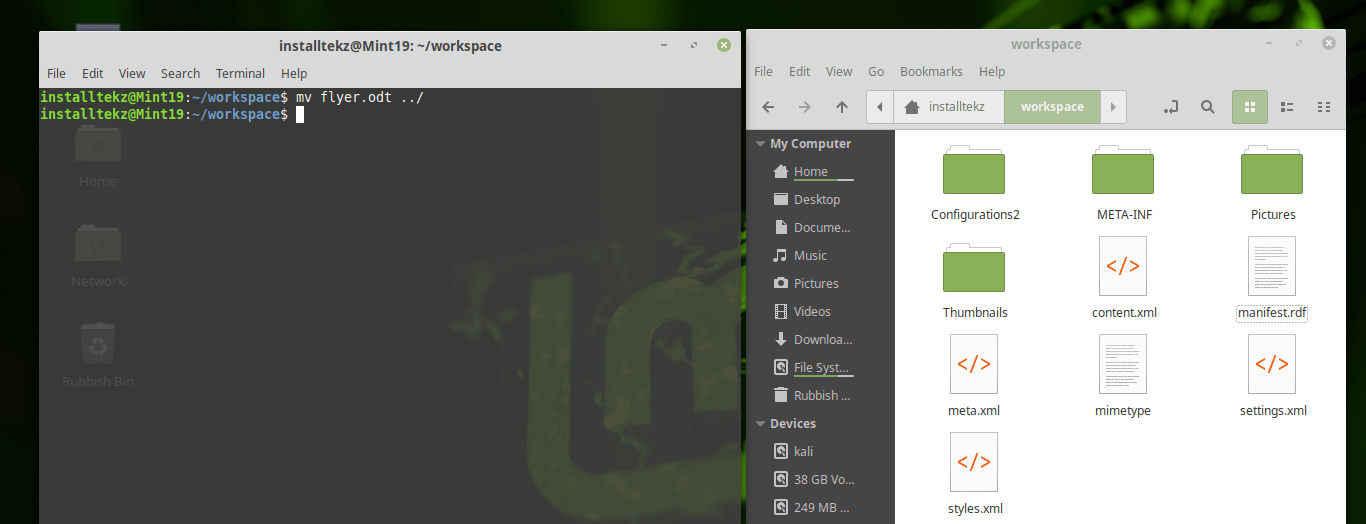
After opening the file with Libre Office I then had to save it to create a .odt file.

create office document from linux terminal
"Street Address" is what we will be changing

2. Installing The Needed Tools

If you followed my guide on How to install 4700+ useful Linux tools in a fresh Mint system then you will almost certainly already have these tools installed but it’s well worth executing any way, just to make sure we have these installed as it won’t take too long anyway.


If you’re not on a Debian based distro then it’s up to you to install these tools with your distributions version of apt-get


Run the following command to install the needed tools:

sudo apt-get install libreoffice unoconv zip sed 

We will need libreoffice to create our office document and to convert our ODT file to a Microsoft DOC file. 


(We will be using Libreoffice graphical interface to create the document, but the command line interface of Libreoffice to convert to a DOC file)


 We will be using zip to uncompress the odt file and then re-zipping it back up when done, we will be using sed to perform the file manipulation and unoconv to convert to a pdf if we choose to do so.

3. The Open Document (ODT) Format

If like me you use the Libre Office suite for creating your documents with then you will have most certainly come across the ODT or Open Document format for creating word processed files. 


Just for anyone who is not familiar with this standard then this would be the equivalent to using Microsoft Word.


Now not many people know that this file type is simply a compressed file just like a zip file or a tar. So it’s possible then to actually “unzip” or uncompress this archive file.  


To uncompress our word processed document file we need to enter the following command in to a shell. This needs to be executed in the same directory as your .odt file:


unzip flyer.odt 

Where ‘flyer’ is the name of your office document file name.


You will notice that this creates a directory. Inside this directory we will see other directories and files. 


The file that we are most interested in is called ‘content.xml’. This holds the actual text that we want in our document file.


Our aim here then is to create a shell script which is going to manipulate this content.xml file with our chosen text by using the ‘sed’ command to do some finding and replacing, then package back up the whole odt directory and re-create our new .odt file.

FREE Download: Linux Mint Tool Collection!


Install tons of great software from the Linux Mint repository with my personal tool list that I’ve built up over the years. I also keep this list updated from time-to-time.

For more information Click Here
linux mint tools pdf

4. File Manipulation & Creation

Once we have access to the ‘content.xml’ file we can now use ‘sed’ to find and replace our place holder values with our arbitrary text strings.


An example of ‘sed’ being used to substitute one string for another and to search the document globally for every instance, and to edit the file in place rather than creating a new file, is given below:

sed -i "s/Street Address/1 Skipville/g" 

Once we have performed all the text manipulation, it’s time to zip our files and directories back up to re-create the ODT file.


open a terminal window in the directory of our uncompressed files/directories that were created from the unzip command.


We need to perform the zip command now, but we don’t want to be creating our file in the ODT file structure so we will be passing ../ to create the new re-packaged ODT file in the parent folder of that we are currently in.

zip -0 -X ../result.odt mimetype 
zip -r ../result.odt * -x mimetype 

Hopefully we should see some output and that everything has worked OK.

5. Steps Are Shown Below With Screenshots

In the following screenshots I show a terminal window on the left, and the working directory on the right showing the files & folders.

create office document from linux terminal - unzip odt file
Unzip the odt file inside a work directory called "workspace". Notice the files and directories that have been created
create office document from linux terminal
Using 'sed' to find & replace a string and edit the 'content.xml' file in-place
create office document from linux terminal
Display the contents of the 'content.xml' file and grep for our new string "Skipville"
create office document from linux terminal
"Skipville" showing up in the content.xml file
create office document from linux terminal
We now need to move our original "flyer.odt" file out of the working directory so we can zip up the remaining contents
create office document from linux terminal - prepare new file
Execute the two 'zip' commands to re-create our document in the parent directory
create office document from linux terminal - party invitation opened
Open our new document and notice the 'Street Address' is now changed to '1 Skipville'

6. Converting To Other File Formats

Once we have our final ODT document file we can then go ahead and convert this if we choose to do so to a PDF or Microsoft DOC file.


To convert to a PDF we run the command:


unoconv -f pdf result.odt 

Where ‘result’ is the name of your filename.


To convert to a DOC file we run the command:

libreoffice --headless --convert-to doc result.odt 

Again, ‘result’ will be the name of your file.

Conclusion

Hopefully I have made the steps here clear enough to follow and it may take some time to understand the whole process as it did with me the first time I began creating office documents in this way.


That’s it! 🙂


The potential here to have our office documents created through automation is huge as you can imagine.

installtekz icon

Quote Of The Day

installtekz

"When wireless is perfectly applied, the whole earth will be converted into a huge brain..." - Nikola Tesla, 1926

How useful was this post?

Click on a star to rate it!

Average rating 5 / 5. Vote count: 1

No votes so far! Be the first to rate this post.