Bluetooth Arduino LED To Android With FREE Kodular App

Bluetooth Arduino LED Android FREE Kodular App
4.5
(2)

In this practical project guide I will cover a basic IoT project aimed at the complete beginner based on cheap components and free software.


The project that I’m about to cover here is:

  • Control a blinking LED on Arduino Uno via an Android app using bluetooth connectivity
 

Not only that, but I created the app using the Kodular platform and I’m giving away the kodular project for you to tinker with yourself!

What does this mean exactly?

It means that you can use this kodular project as a starting point to create your own project as you can modify the code in the app.

If you’re unfamiliar with the Kodular platform then I have a guide to help beginner’s to get started right here.

And if you don’t already have an account with Kodular.io then you can sign up for it here.

Project Skill Level: Beginner

Electronics
1/5
Embedded Programming
1/5
Kodular App Development
1/5
Bluetooth Networking
1/5

Contents

1. Hardware You Will Need:

Basic Tools And Equipment

Bluetooth Module And Supporting Components

To follow along with this tutorial you will first need to build the bluetooth module with supporting components such as resistors and jumper/hook-up wire.

This can be in either a permanent build by using stripboard/veroboard or in a temporary build by using breadboard.


In this post I will assume that you already have your bluetooth module setup and ready to go and so I will not be covering that here today.

I have a guide that explains how to put this bluetooth module together right here.

The following images show one of my HC-06 bluetooth modules in a permanent build by soldering to stripboard:

The following components and materials were used to build this bluetooth module:

  • 1k and 2k fixed resistors
  • Stripboard
  • Male-to-male jumper wire connectors
  • Hot glue
  • 60/40 (tin/lead) solder

Other Equipment You Will Need

Other than basic tools and equipment, we are going to need the following devices/cables to create this project: 

  • PC/Laptop
  • Android Device
  • Arduino Uno
  • USB cable to suit Arduino to PC/Laptop connection

2. Software You Will Need:

The following list of software will be needed for this project:

  • Arduino IDE: Install or Web (I use the install method on linux)
  • Kodular .aia file (Supplied below)
  • Kodular APK file (Created from .aia file and also supplied below)
 
Depending on what operating system you have will need to install the Arduino IDE executable program or use the online IDE provided by Arduino.
 
The Kodular app and app project file can be found in section 5 later down this post.

FREE Download: CIoTP Checklist!


The ‘Certified Internet of Things Practitioner’ Certification provided by CertNexus is an excellent blueprint to begin learning IoT.

To download your CIoTP PDF CheckList file Click Here
CIoTP checklist

3. Flashing The Arduino Sketch

First of all we need to flash the Arduino sketch into the Arduino Uno.

Make sure that the bluetooth module is not connected to the Arduino as this may cause problems with the sketch upload.


By following the steps below we can successfully flash the Arduino:

  1. Connect the USB cable to the Arduino
  2. Connect the other end of the USB cable to the PC/Laptop
  3. Start the Arduino IDE software
  4. Copy and paste the Arduino sketch into the Arduino IDE. This can be found below
  5. At this point you may need to select the USB port in place of the “COM” port and the IDE may warn/guide you on how to change this
  6. Click the “Verify” button to check the code and compile
  7. Click the “Write” button to flash the sketch into the Arduino

Arduino Sketch

Copy the following Arduino sketch and paste into your Arduino IDE software:

#define ledPin 13
int state = 0;

void setup() {
  pinMode(ledPin, OUTPUT);
  digitalWrite(ledPin, LOW);
  Serial.begin(9600);
}

void loop() {
  if(Serial.available() > 0){ // Listening for BT communication
    state = Serial.read(); // Reads the data from the serial port
 }

 if (state == '0') {
  digitalWrite(ledPin, LOW); // Turn LED Off
  state = 0;
 }
 else if (state == '1') {
  digitalWrite(ledPin, HIGH); // Turn LED On
  state = 0;
 }
 delay (50);
} 

Arduino IDE

The following screenshot shows the sketch inside the IDE:

Once you’re happy with the sketch you can then click the ‘Verify’ button and check for any errors in the output as shown below:

Arduino compile success
Output shows no errors

After a successful compile it’s now time to flash the sketch into the Arduino board by clicking the ‘Upload’ button as shown below:

That’s the Arduino sketch flashing complete!

4. Building The Arduino Project

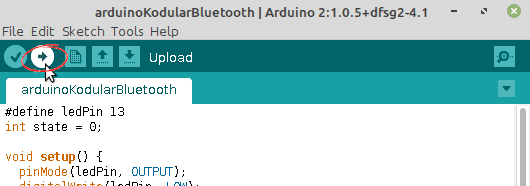
Now that the Arduino is successfully flashed with the sketch we can now build the project together.

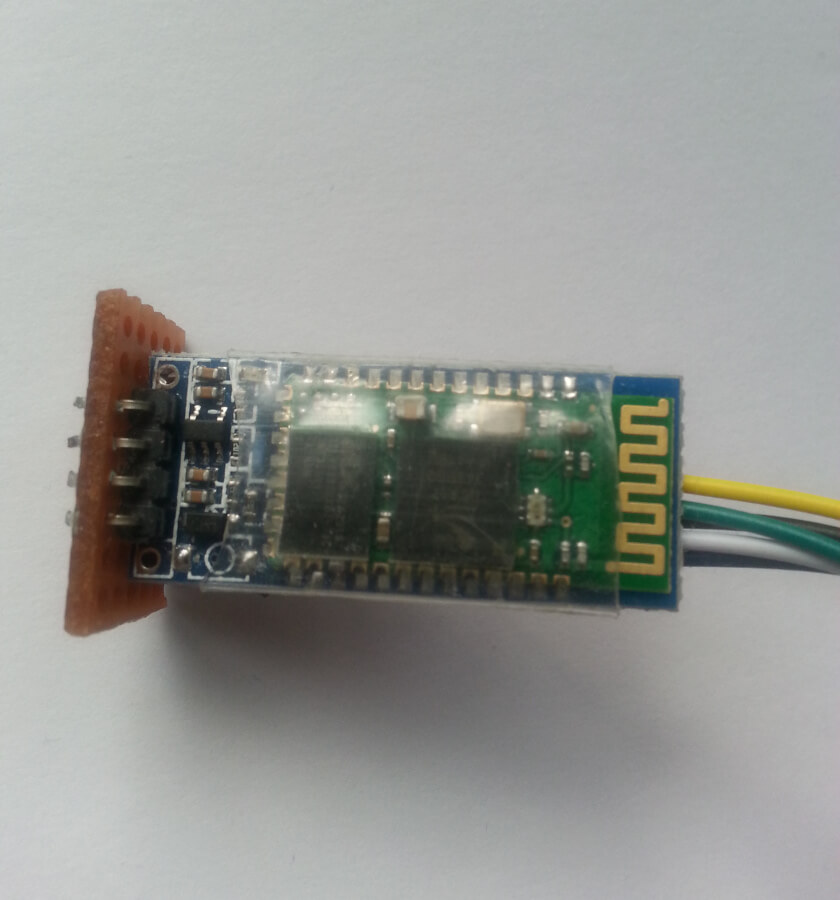
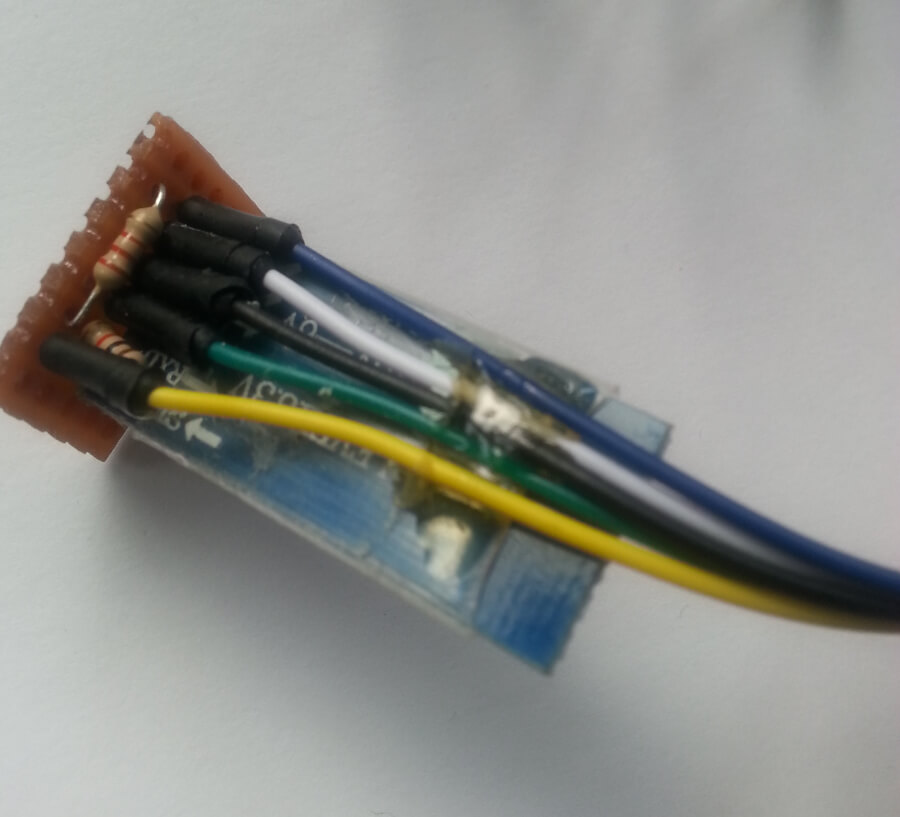
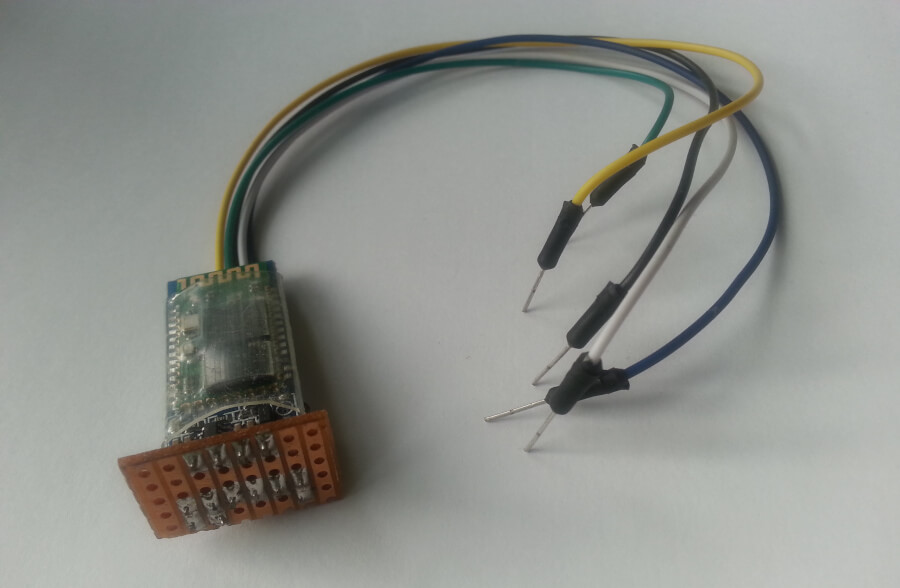
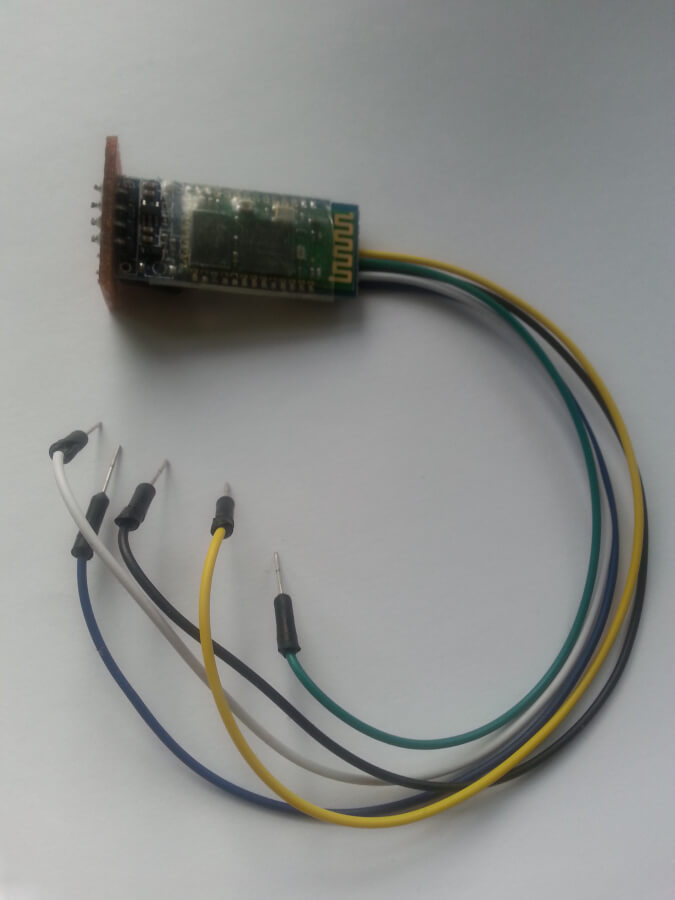
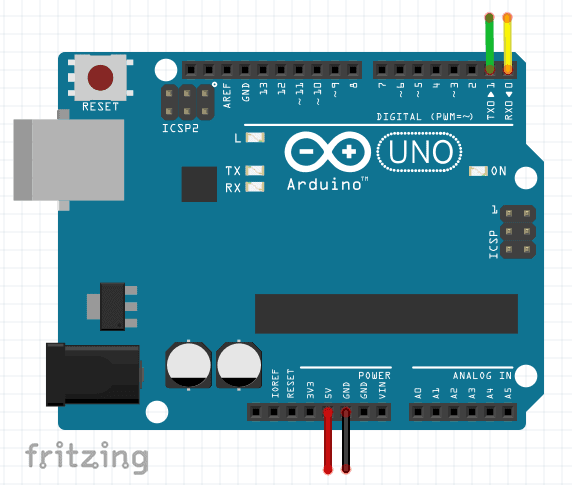
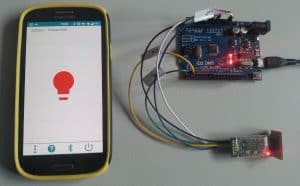
As this is a simple project, all we need to do is connect the bluetooth module to the Arduino then connect the Arduino to the PC/Laptop to provide it with power.

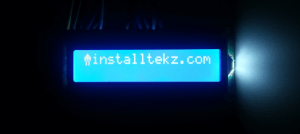
Once everything is connected up, we should see LED’s flashing on the bluetooth module and LED’s light up on the Arduino.

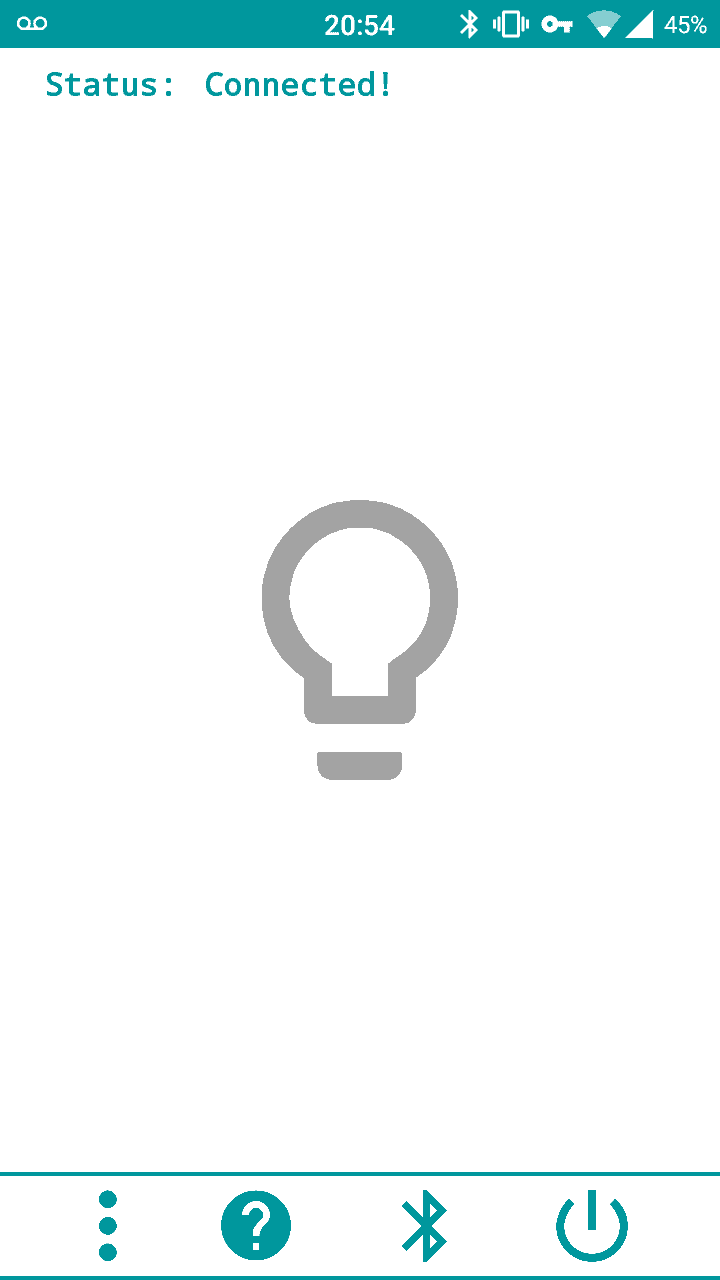
When we successfully connect to the bluetooth module via the android app (explained further down) we should see the LED on the bluetooth module become fully lit.

Bluetooth Module To Arduino Uno Connections

The following image shows the connections from the bluetooth module to the Arduino Uno board:

You may see an extra wire on my bluetooth module connections in my images on this page but this is simply another ground (GND) wire.

The reason for this was because I did not connect these wires onto the bluetooth module board.

(bad design on my part but still works, just connect the extra ground wire).

However I will be constructing a second module with an improved design in the near future where I will document the build and provide a link to it here.

5. Install The Kodular App On Android

If you’re reading this post right now on a computer then you can scan the QR code using your Android device to install the app.

However if you’re reading this post from your Android device then it you can install the app by clicking the ‘Direct Download APK’ button below.

You may need to switch on the setting to ‘install apps from other sources’ on your Android device.

Install APK On Android (5.8MB)

Kodular .aia Project File

Here I have also included the Kodular project file (AIA). You can download this and import it into Kodular as your very own project.

This will allow you to see the app code, modify it and also build it into your own APK file ready to be installed into your Android device.

App Screenshots

6. Configure Android Bluetooth

If the Arduino is connected to the bluetooth module correctly and is powered via the PC/Laptop then we should see the bluetooth identity on the Android device.

Firstly, turn ON bluetooth on the Android device

Then scan and connect to the Arduino bluetooth module. (HC-06 for example)

Turn ON Bluetooth
Connect to bluetooth module

7. Using The Kodular App To Control Arduino

Once you have successfully paired your Android device to the bluetooth module it’s now time to open the app.

Click the bluetooth icon and select your bluetooth module which should be displayed in the list.

Connect bluetooth device

Now all we need to do is tap the light bulb in the middle of the screen and we should see the LED light up on the Arduino!

Conclusion

This post was a guide on how to build a simple IoT project for beginner’s using Arduino Uno and Android.

This project involved controlling the built-in LED on the Arduino board via bluetooth communications with a simple-to-use app building service such as Kodular.

After mastering this simple project you will have gained the skills and knowledge needed to create many more similar projects.

What will you build next?

installtekz icon

Quote Of The Day

installtekz

"When wireless is perfectly applied, the whole earth will be converted into a huge brain..." - Nikola Tesla, 1926

ID: 020120211222

How useful was this post?

Click on a star to rate it!

Average rating 4.5 / 5. Vote count: 2

No votes so far! Be the first to rate this post.